Saving optimal JPEGs on iOS
Conventional wisdom for creating a JPEG version of a UIImage is first to turn it into an NSData and immediately write it to disk like so:
NSData *jpegRepresentation = UIImageJPEGRepresentation(image, 0.94);
[jpegRepresentation writeToFile:outputURL.path
                     atomically:NO];
Most of the time this is exactly right. However, if file size is important, Image IO is a great alternative. It is a powerful system framework to read and write images, and produces smaller files at the same compression level.
Why Image IO?
A project I am working on requires uploading photos en masse. Low upload bandwidth makes file size a limiting factor, so I sought out ways to reduce it.
I put together a test project to find the differences between the two methods. The results are pretty interesting:
- Image IO files are on average 20% (but up to 30%) smaller1.
- Image IO takes about 2x longer.
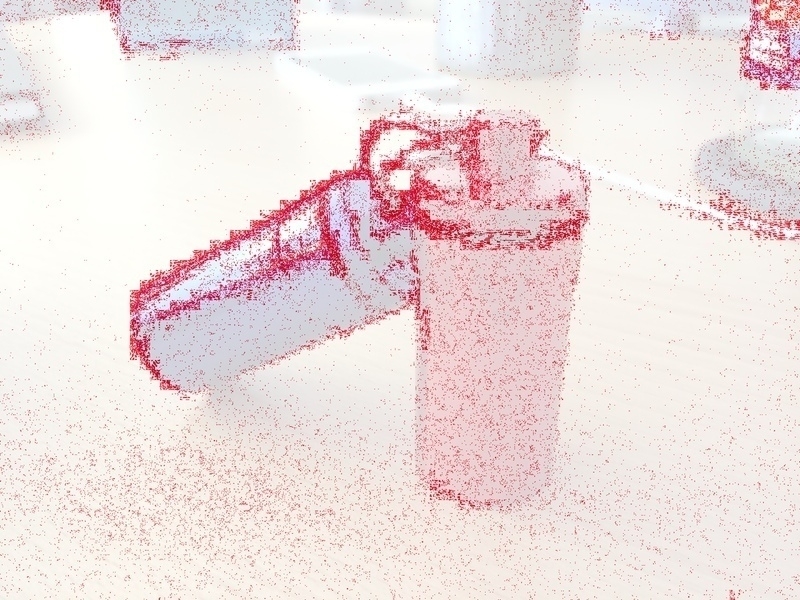
The only discernible visual difference is the grain in the images, but even that is minor. Here’s a diff between two versions of the same original photo:

Using Image IO
First, you’ll need to add two new framework dependencies:
@import ImageIO; // to do the actual work
@import MobileCoreServices; // for the type defines
When creating your JPEG file, the first step is to create a CGImageDestinationRef specifying where to write the result:
CGImageDestinationRef destinationRef =
CGImageDestinationCreateWithURL((__bridge CFURLRef)outputURL,
                                /* file type */ kUTTypeJPEG,
                                /* number of images */ 1,
                                /* reserved */ NULL);
Image IO is able to produce files of a few different types2 but my focus here is JPEGs. Next, we set up the properties of the output file, specifying a constant compression factor:
NSDictionary *properties = @{
  (__bridge NSString *)kCGImageDestinationLossyCompressionQuality: @(0.94)
};

CGImageDestinationSetProperties(destinationRef,
                                (__bridge CFDictionaryRef)properties);
And, importantly, we specify what is to be written out:
CGImageDestinationAddImage(destinationRef,
                           /* image */ image.CGImage,
                           /* properties */ NULL);
And finally, we write it to disk and clean up the reference:
CGImageDestinationFinalize(destinationRef);
CFRelease(destinationRef);
-
The UIImage version has a color profile, while the Image IO version does not. However, running both files through Image Optim produces a 7% reduction on both, so I am choosing to ignore this difference. Afterall, you can’t remove the color profile anyway! ↩︎
-
The following are possible types you can use, from the documentation:
↩︎Constant UTI type kUTTypeImagepublic.image kUTTypePNGpublic.png kUTTypeJPEGpublic.jpeg kUTTypeJPEG2000public.jpeg-2000 (OS X only) kUTTypeTIFFpublic.tiff kUTTypePICTcom.apple.pict (OS X only) kUTTypeGIFcom.compuserve.gif